MicroSD & CrossDOS
Part of the Mastering Amiga Vampire 1200 v2 Guide
Updated on March 7, 2025
Introduction
This guide documents the required steps to get the MicroSD slot on the Vampire 1200 v2 working using CrossDOS. I could only find older guides on how to get it working with the FAT95 software so it's time for an updated guide using CrossDOS and AmigaOS 3.2
Prerequisites
- Amiga 1200
- Vampire 1200 v2
- AmigaOS 3.2
- AmigaOS ROM 3.2.2
- MicroSD card
- SAGA Drivers
(Download my ADF file with v3.1b6 here)
Step 1
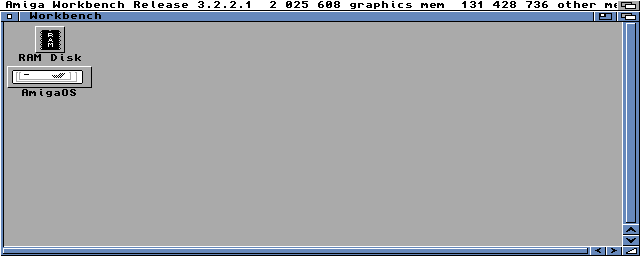
Boot your Amiga to the Workbench screen.
Step 2

Browse to the "saga-v3.1b6.adf" disk image on your Gotek drive to mount it.
Step 3
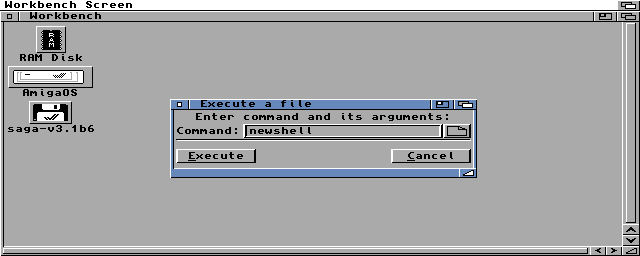
Now selected "Execute command.." from the Workbench menu to open the execute a file window. Enter "newshell" and press enter or click on the "Execute" button.
Step 4
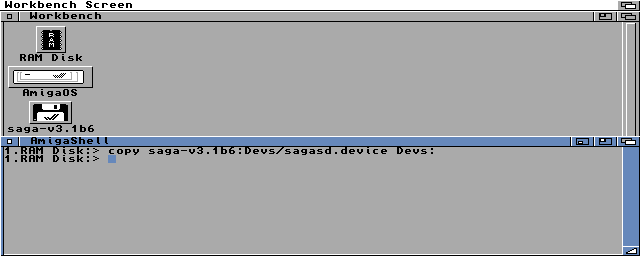
Now it's time to install the driver for the MicroSD card reader. Enter the following command and press enter.
copy saga-v3.1b6:devs/sagasd.device devs:
If there are no errors then close the shell window.
copy saga-v3.1b6:devs/sagasd.device devs:
If there are no errors then close the shell window.
Step 5

Open the "AmigaOS" partition.
Step 6
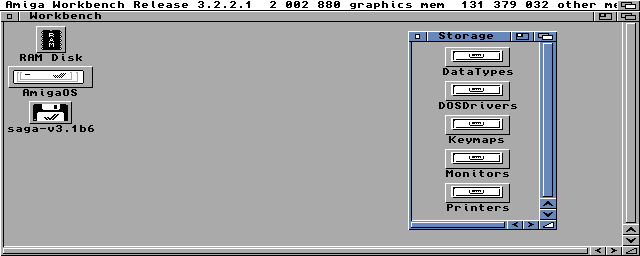
Open the "Storage" drawer.
Step 7
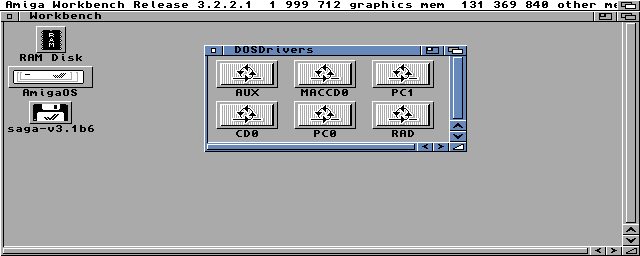
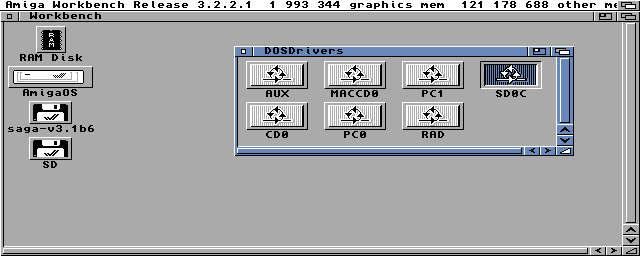
Open the "DOSDrivers" drawer.
Step 8

Select the icon "PC0" and selected "Copy" from the Icons menu to make a copy of the file.
Step 9
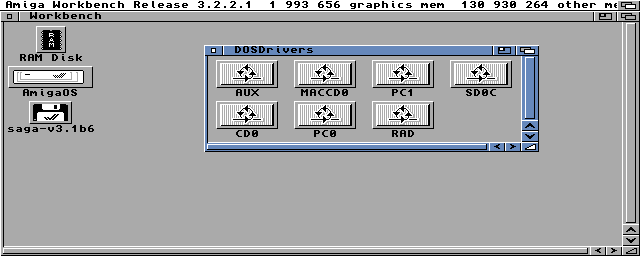
Select the icon "Copy_of_PC0" and selected "Rename..." from the Icons menu. Enter the name "SD0C". Why this name? CrossDOS use the last letter of the device name to know which partition it should use and "C" is the first, "D" is the second and so on. Here we use "C" as there is usually only one partition on SD cards.
Step 10
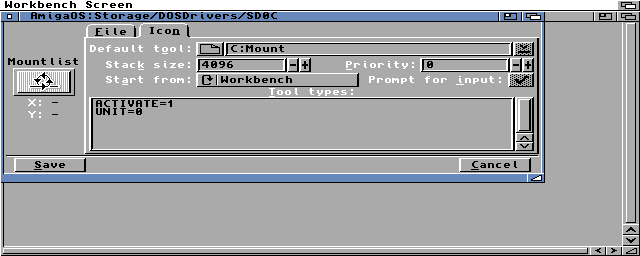
Select the icon "SD0C" and selected "Information..." from the Icons menu. Click on the "Icon" tab and verify that the tool types are "ACTIVATE=1" and "UNIT=0". Click "Cancel" or "Save" if you needed to change the values.
Step 11

Now selected "Execute command.." from the Workbench menu to open the execute a file window. Enter "textedit" and press enter or click on the "Execute" button.
Step 12
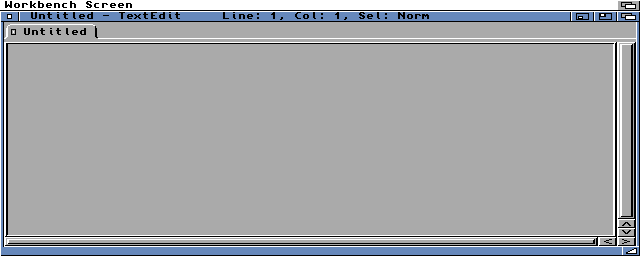
TextEdit opens with an empty document.
Step 13
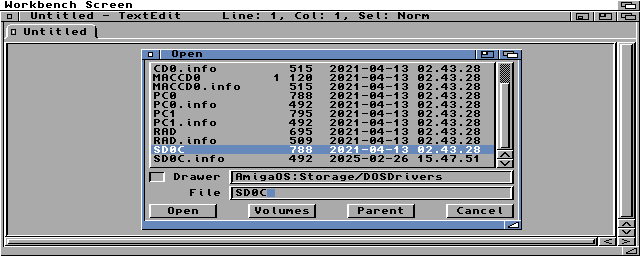
Now selected "Open..." from the "Project" menu to open the file Requester. Browse to the folder "AmigaOS:Storage/DOSDrivers/" and open the "SD0C" file.
Step 14
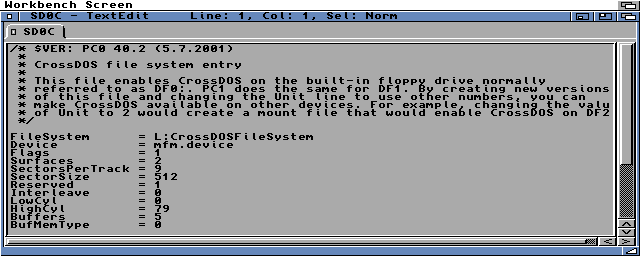
We now see the configuration of the "PC0" file we made a copy of in step 8.
Step 15

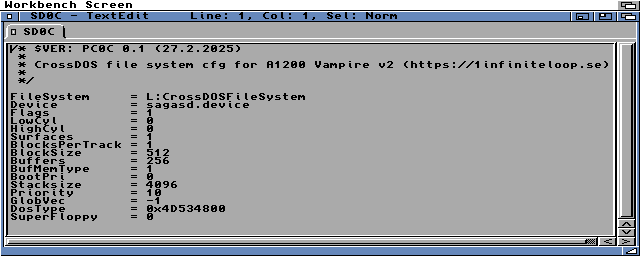
Delete everything and enter the following text
/* $VER: PC0C 0.1 (27.2.2025)
 *
 * CrossDOS file system cfg for A1200 Vampire v2 (https://1infiniteloop.se)
 *
 */

FileSystem	= L:CrossDOSFileSystem
Device		= sagasd.device
Flags		= 1
LowCyl		= 0
HighCyl		= 0
Surfaces	= 1
BlocksPerTrack	= 1
BlockSize	= 512
Buffers		= 256
BufMemType	= 1
BootPri		= 0
Stacksize	= 4096
Priority	= 10
GlobVec		= -1
DosType		= 0x4D534800
SuperFloppy	= 0
Step 16
Now selected "Save" from the "Project" menu to save the changes and then close the TextEdit window to exit.
Step 17
Now insert you MicroSD card (Must be FAT/FAT32) and double click on the "SD0C" icon and it will be mounted on your Workbench like a floppy disk.
Step 18
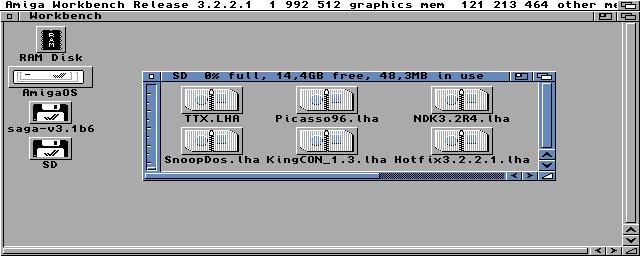
Open the mounted disk and we now see all the files on it and now have a great way to transfer files from other computers to the Amiga. The only feature missing is being able to change the card without restarting the computer.
Performance

Speed in bytes/s according to SysInfo 4.4.